
Introduction
In the world of ecommerce and product visualization, Augmented Reality (AR) has gone from a novelty to a necessity. But while AR solutions are more accessible than ever, one critical element is often overlooked: the 3D models themselves.
At DivisionXR, we’ve helped dozens of brands bring their furniture, outdoor kitchens, and decor to life with AR — and time after time, the same truth applies:
Your AR experience is only as good as your 3D model.
In this guide, we’ll show you how to properly optimize 3D assets for AR so your customers get fast, beautiful, and reliable interactions every time.
Why Optimization Matters
A high-quality AR solution must do three things:
- Load quickly on mobile
- Look realistic in real space
- Perform smoothly on all devices
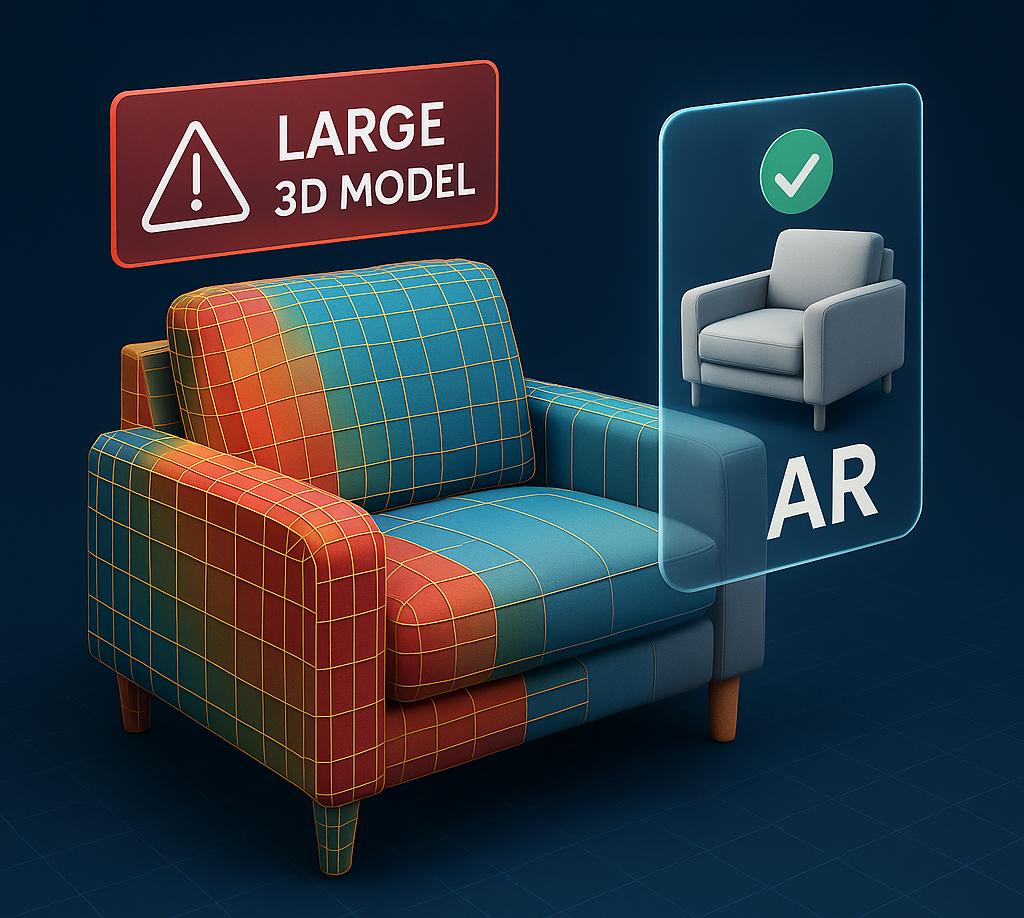
If your 3D model is too large, incorrectly scaled, or missing textures, the AR experience breaks — and you lose the sale.
What Makes a 3D Model “AR-Ready”?
An optimized 3D model for AR is:
- Lightweight (reduced polygon count without losing key details)
- True-to-scale (accurate dimensions in real-world units)
- Properly textured (UV-mapped with clean, baked-in lighting)
- Compressed for mobile (without visual compromise)
- Compatible with all platforms (WebAR, iOS, Android, desktop)
It’s not just about how it looks — it’s how it performs.
5 Steps to Prepare AR-Ready Models
Here’s how we prepare production-ready 3D models for our AR agency clients:
- Clean Topology
Unnecessary vertices and hidden geometry can slow down render performance. Always begin with clean geometry and optimized edge flow. - Manage Polygon Count
Start high, then simplify. Most WebAR platforms work best with models under 100k polygons (and even lower when possible). - Optimize UV Mapping & Textures
Use single texture atlases where possible, avoid overlapping UVs, and export in efficient formats like .glb or .usdz with compressed PBR textures. - Bake Lighting & Shadows
Pre-baked ambient occlusion and soft shadows can simulate realism without adding weight. This is especially useful for web-based AR without live lighting. - Test Across Devices
A model that looks perfect on desktop might stutter on mobile. Always test in different environments and screen sizes.
Real-World Example: Outdoor Kitchen Optimization
One of our clients needed a large, detailed outdoor kitchen model in AR — with color and material variations.
The original model: 50MB, dense mesh, uncompressed textures.
After optimization: 7.8MB, baked lighting, swappable finishes, and 3x faster load time.
Result: Customers could view the kitchen in their backyard and change the countertop material in real time — all from a smartphone.
Dynamic Features: Add More Than Just the Basics
With the right AR setup, you can go beyond static previews:
- Offer material and color switching
- Swap product configurations
- Add product labels or interactive tooltips
- Embed call-to-actions (e.g. “Add to Cart”)
At DivisionXR, we build flexible AR solutions that combine model quality with powerful features — all through WebAR, with no app needed.
Conclusion: Great AR Starts with Great 3D
Augmented reality is a powerful tool — but it’s only as good as the assets behind it.
If you’re a furniture maker, grill manufacturer, or ecommerce brand looking to upgrade your 3D assets for AR, we can help.
📺 Watch the full guide here:
https://www.youtube.com/watch?v=iwiRBjKxujw
In this video, we go deeper into each step and show practical examples of how to prepare your 3D assets for fast and reliable AR experiences.